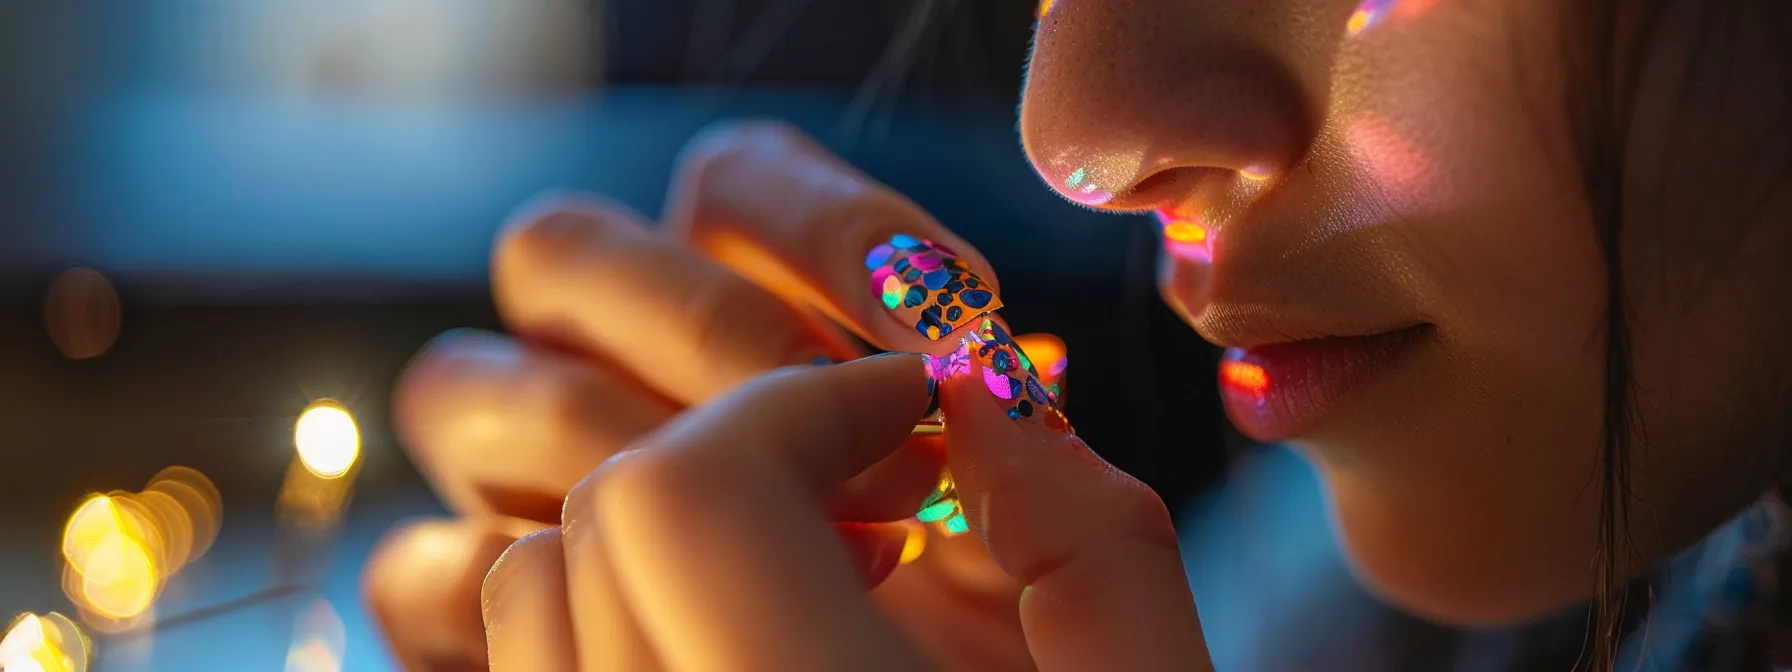
Mastering Nail Art Stickers: A Guide for Durable Decals
Nail art is a fantastic way to express your personality and creativity, and with the right nail products, achieving stunning designs has never been easier. At LashMer.com, we offer a variety of nail decal stickers and DIY nail stickers that cater to all styles and preferences. These versatile products allow you to transform your manicures quickly and effortlessly, making them perfect for both professional salons and home enthusiasts. Whether you’re looking to create unique patterns or simply enhance a classic look, mastering the application of nail art stickers is key to achieving a salon-quality finish. Keep reading to discover tips and techniques that will help you apply and maintain your nail art stickers for a long-lasting, beautiful manicure.
Key Takeaways
- assess your personal style and occasion when choosing nail art stickers
- prepare your nails properly for optimal sticker adhesion and longevity
- seal stickers with a top coat to enhance shine and durability
- incorporate different techniques for unique and creative nail art designs
- remember to moisturize nails and cuticles after removing stickers for health maintenance
Choosing the Right Nail Art Stickers for Your Style

When selecting the perfect nail art stickers, it’s crucial to first assess your personal style and preferences. Are you drawn to bold designs like snake nail stickers, or do you lean towards delicate patterns, perhaps some festive Christmas nail art stickers? The occasion also plays a significant role; casual outings might call for something playful, while more formal events may require elegance. I always consider the specific brands and their quality before purchasing LashMer.com=””>LashMer.com/iu_categories/nail-products/”>nail products. Choosing reliable nail water decals ensures that the design lasts longer and withstands wear and tear. Additionally, matching stickers with your chosen nail polish colors can create a harmonious look, so pay attention to the price and options available in nail art stencils to find the best combination for your nails.
Assess Your Personal Style and Preferences
When I think about my personal style, I always take into account how sticker nail art from LashMer.com can reflect my mood and aesthetic. For instance, floral nail stickers resonate with my love for nature and add a touch of elegance to my look. I find that self-adhesive nail stickers from LashMer.com offer convenience without compromising on creativity, especially when I want to add a feminine touch with flower nail art stickers that complement my outfits beautifully. Explore more nail products for additional options and styles at LashMer.com.
Consider the Occasion for Wearing Nail Art Stickers
When I consider the occasion for wearing nail products art stickers from LashMer.com, I always aim for designs that match the event’s vibe. For fun gatherings, I love opting for cute nail stickers adorned with glitter that bring a playful touch, while for Halloween festivities, I often reach for themed options like Halloween nail art stickers that showcase spooky designs. Similarly, if I want to add a unique twist for a casual day out, stitch nail stickers can provide a quirky yet stylish element, making my nail art as versatile as my wardrobe.
Explore Different Brands and Their Quality
As I explore different brands for nail art stickers, I find that quality can significantly impact the final look of my manicure. For example, Mickey Mouse nail stickers and Nightmare Before Christmas nail stickers often come with vibrant designs that stay put, but I’ve learned to check for reviews to ensure they adhere well and don’t peel off easily. I also enjoy experimenting with 3D nail stickers as they add an exciting dimension, so I always look for decals from reputable brands that promise durability and ease of application.
Match Stickers With Your Nail Polish Colors
When matching nail art stickers with my nail polish colors, I focus on achieving a cohesive look that enhances my artificial nails. The right combination elevates the entire manicure, making it visually appealing and polished. For instance, I find that 5D nail stickers create a stunning contrast against a matte finish, while vibrant nail art decals pop beautifully on classic shades.
- Assess your nail color choice first.
- Look for nail art stickers near me that complement your polish.
- Experiment with various designs, like 5D nail stickers, for added dimension.
- Consider the occasion to guide your color matching.
- Finish with a top coat for longevity and shine.
Now that you’ve picked the perfect nail art stickers to express your unique style, it’s time to get your nails ready for an eye-catching transformation. Let’s dive into the essential steps to prepare your nails for a flawless sticker application!
Preparing Your Nails for Sticker Application

Before applying nail art stickers, I always ensure my nails are in optimal condition for the best results. I start by cleaning and drying my nails thoroughly, as any residue can interfere with the adhesion of the stickers. Next, I apply a base coat to create a smoother surface; this not only enhances the appearance of the stickers but also helps them stick better, providing a longer-lasting finish. Additionally, I take the time to trim and file my nails for a neat and even fit. This preparation step is vital, as it allows the stickers to adhere perfectly and ensures that my nail art looks polished and professional.
Clean and Dry Your Nails Thoroughly
Before I apply nail art stickers, I believe taking the time to clean and dry my nails is essential for achieving a flawless finish. I use a gentle cleanser to remove any dirt, oils, or old polish, ensuring a clean slate for the stickers. Once my nails are spotless, I dry them thoroughly to prevent any moisture from affecting the adhesion of the decals.
Here’s how I ensure my nails are clean and dry:
- Start with a nail polish remover to eliminate any remnants of previous products.
- Wash hands with soap and water to remove any surface debris.
- Use a lint-free cloth or paper towel to dry my nails completely.
- Check for any remaining dampness, especially around the cuticles.
Use a Base Coat for Smoother Application
Using a base coat is a step I never skip in my nail art routine, as it sets the foundation for a smooth sticker application. The base coat not only creates an even surface for the stickers to adhere to, but it also extends the life of my nail art by helping prevent chips and lifting. I find that a high-quality base coat truly makes a difference in the overall finish of my manicure, allowing the designs to shine and remain intact for a longer period.
Trim and File Your Nails for the Best Fit
Trimming and filing my nails is a crucial step that I never overlook when preparing for nail art stickers. I start by assessing the length of my nails, determining if a slight trim is necessary to ensure they’re not too long for the design. After cutting, I carefully file the edges to create a smooth finish, which not only enhances the final look but also helps the stickers fit seamlessly against my natural nail shape.
With your nails expertly prepped, you’re ready to bring your vision to life. Let’s jump into the step-by-step guide that will transform your nails with stunning art stickers!
Step-by-Step Guide to Applying Nail Art Stickers

To achieve a flawless application of nail art stickers, I always begin by selecting the appropriate size for each nail. This ensures that the design fits perfectly and complements the overall look. Once I’ve chosen the right decals, I position each sticker with care, applying them from the center outwards. This technique helps create even adhesion and prevents trapped air. As I apply the stickers, I take the time to smooth out any bubbles or wrinkles, ensuring that each design lays flat against my nail for a polished finish. These steps make a significant difference in the longevity and appearance of my nail art, allowing me to showcase my style with confidence.
Select the Appropriate Sticker Size for Each Nail
Selecting the right sticker size for each nail is a crucial step in achieving a polished look. I always measure the stickers against my nails to find the perfect fit, ensuring that the design aligns seamlessly with my nail shape. This attention to detail not only enhances the overall aesthetic but also contributes to the longevity of the stickers, reducing the chances of peeling or lifting as I go about my day.
Position the Sticker Carefully and Apply From the Center Outwards
When positioning the sticker on my nail, I take care to ensure it is centered to achieve a balanced look. Starting from the middle, I gently press down and work my way towards the edges, allowing the decal to adhere evenly. This method minimizes the risk of air bubbles and ensures a smooth application, essential for a flawless finish.
Here’s how I position the sticker:
- Begin by holding the sticker above the nail, finding the perfect center point.
- Lightly touch the center of the sticker to my nail before gently pressing downwards.
- Gradually smooth the sticker from the center outwards, ensuring even contact with the nail.
- Check for any air bubbles and carefully push them out towards the edges.
Smooth Out Any Bubbles or Wrinkles
After applying the stickers, I make it a point to check for any bubbles or wrinkles that may have formed during the process. Gently pressing from the center of the sticker towards the edges helps release trapped air and ensures a flat application. Being meticulous at this stage makes a world of difference in achieving an immaculate finish.
Here’s how I smooth out bubbles and wrinkles:
- Examine the applied sticker for any imperfections.
- Use a soft tool, like a cuticle stick, to nudge out any trapped air.
- Apply gentle pressure to smooth the sticker, ensuring complete adhesion.
You’ve successfully applied those stunning nail art stickers, and they look fabulous. To keep them looking fresh and vibrant for longer, let’s dive into some practical tips for maximizing their durability!
Maximizing the Durability of Your Nail Art Stickers

Ensuring the longevity of my nail art stickers is essential for a polished look that lasts. One effective method I always use is to seal my stickers with a top coat layer after application. This not only protects the decals but also adds a beautiful shine. I also make it a point to avoid contact with water for at least a few hours post-application, as moisture can compromise adhesion. To keep my manicure looking fresh, I apply an additional top coat after a few days of wear; this helps prevent any peeling and maintains the vibrancy of the design. These simple steps have drastically improved the durability of my nail art, allowing me to enjoy my creations for an extended period.
Seal Stickers With a Top Coat Layer
Sealing my nail art stickers with a top coat layer is a step I consider non-negotiable for maintaining their vibrancy and longevity. I carefully apply a clear top coat over the designs, ensuring every corner is covered, which not only enhances the shine but also fortifies the stickers against chips and wear. This extra layer not only protects what I’ve created but also elevates the overall look of my manicure, giving it that polished finish that I love.
Here’s how I seal my stickers effectively:
- Choose a high-quality clear top coat for lasting results.
- Apply the top coat gently to avoid shifting the stickers.
- Allow the top coat to dry completely to ensure full adhesion.
- Reapply top coat after a few days to refresh the shine.
Avoid Contact With Water for a Few Hours After Application
After applying nail art stickers, I always take care to avoid contact with water for at least a few hours. This precaution helps ensure that the stickers adhere properly and remain intact, as moisture can weaken their hold on my nails. I find that waiting allows the adhesive to set firmly, resulting in a longer-lasting and more vibrant manicure.
- Wait a few hours before exposing nails to water.
- Using gloves for dishwashing or cleaning can protect your art.
- Avoid activities that may cause excessive sweating or moisture.
- Be mindful during daily routines to ensure the stickers stay secure.
Maintain by Applying an Additional Top Coat After a Few Days
After a few days of sporting my nail art stickers, I find it beneficial to apply an additional top coat to maintain their beauty and longevity. This quick touch-up not only keeps the stickers looking fresh but also helps to prevent any potential peeling or chipping, allowing me to enjoy my nail designs for a longer period of time. I’ve noticed that extending the life of my nail art in this way enhances my overall manicure experience, ensuring my nails continue to look impeccable.
With your nail art stickers securely in place, it’s time to unleash your creativity. Dive into unique ideas that will elevate your nail art stickers to an entirely new level!
Creative Ideas to Enhance Your Nail Art Stickers

To truly elevate my nail art experience, I enjoy mixing various techniques with my nail stickers. Combining stickers with other nail art methods allows me to create striking looks that stand out. For instance, I often layer multiple stickers to develop a unique design that surprises and delights. To take it a step further, I love to incorporate accents like glitter or gems, which add an extra sparkle and dimension to my nails. These creative ideas not only enhance the visual appeal of my nail art but also allow me to express my personality through intricate designs that reflect my style.
Combine Stickers With Other Nail Art Techniques
Combining stickers with other nail art techniques has transformed my manicure game entirely. For instance, I love to blend nail stickers with ombre effects for a unique twist, creating depth and richness that captivates the eye. Furthermore, layering stickers with different textures, like matte and glossy finishes, offers a stunning contrast that showcases my creativity and personal flair.
Layer Stickers for a Unique Design
Layering stickers has opened up a whole new world of creativity for my nail art. I enjoy mixing different designs, like floral motifs with graphic patterns, which creates a striking and dynamic effect that captures attention. This technique allows me to express my individuality while showcasing artistic flair on my nails.
Add Accents Like Glitter or Gems for Extra Sparkle
To elevate my nail art stickers, I love incorporating accents like glitter or gems. Adding a sprinkle of glitter not only enhances the design but also introduces a fun, shimmering effect that catches the eye. I often complement my stickers with strategic placements of rhinestones or pearls, which bring a touch of elegance and sophistication, transforming a simple manicure into a statement piece.
As you showcase your stunning nail art, it’s essential to consider the next step. Let’s dive into the best methods for removing nail art stickers while keeping your nails healthy and beautiful.
Removing Nail Art Stickers Without Damaging Your Nails

When it’s time to remove my nail art stickers, I always take a careful approach to preserve the health of my nails. Soaking my fingers in warm water for several minutes helps to loosen the adhesive, making the removal process smoother. Once the stickers are softened, I gently peel them off, starting from the edges to minimize any discomfort or damage to my nail surface. After successfully removing the stickers, I never forget to moisturize my nails and cuticles; this step is essential for maintaining their health and ensuring they look and feel great, even after the nail art is gone.
Soak Nails in Warm Water to Loosen Stickers
To effectively remove my nail art stickers without harming my nails, I always begin by soaking them in warm water. This simple yet effective method helps to relax the adhesive, making it easier for me to lift the stickers off with minimal effort. After a few minutes, I find that the softened stickers gently peel away, leaving my nails unscathed and ready for a fresh design.
Gently Peel Off Stickers Starting From the Edges
When it’s time to remove my nail art stickers, I always start from the edges for a gentle peel that ensures the integrity of my nails. This method allows me to carefully lift the stickers without risking any damage or discomfort. By working from the perimeter, I can effectively loosen the adhesive and remove the design smoothly.
Moisturize Nails After Removal to Maintain Their Health
After removing my nail art stickers, I always make it a priority to moisturize my nails and cuticles. This step rejuvenates the area, helping to restore moisture and prevent any dryness that may result from adhesive removal. By applying a nourishing oil or cream, I keep my nails healthy and promote their overall strength and appearance.
I find it especially beneficial to focus on the cuticles right after sticker removal and consider it part of my routine. Moisturizing can help counteract any potential damage and ensures my nails remain in prime condition for my next creative endeavor:
- Begin by soaking nails to loosen stickers.
- Gently peel off stickers from the edges.
- Apply a moisturizing product to nourish nails and cuticles.
- Massage the moisturizer for better absorption and care.


