Mastering Gel Nail Extension Techniques: Your Starter Guide
Mastering gel nail extensions is an exciting way to enhance your beauty routine and showcase your creativity through nail art. With the right nail products from LashMer Home, you can achieve stunning results that elevate your look. The use of oils in your prep can also contribute to healthier nails while ensuring a flawless finish. Ready to transform your nail game? Keep reading to discover essential techniques and tips that will empower you to create beautiful gel nail extensions at home.
Key Takeaways
- choosing the right gel nail extension kit is essential for beautiful results
- maintaining hygiene and preparing nails properly ensures better adhesion and longevity of extensions
- applying gel evenly and curing it correctly contributes to a flawless, durable manicure
- regular maintenance of gel nails prevents damage and keeps them looking fresh and polished
- experimenting with shapes and designs allows for personal expression and creativity in nail art
Selecting Your Gel Nail Extension Kit

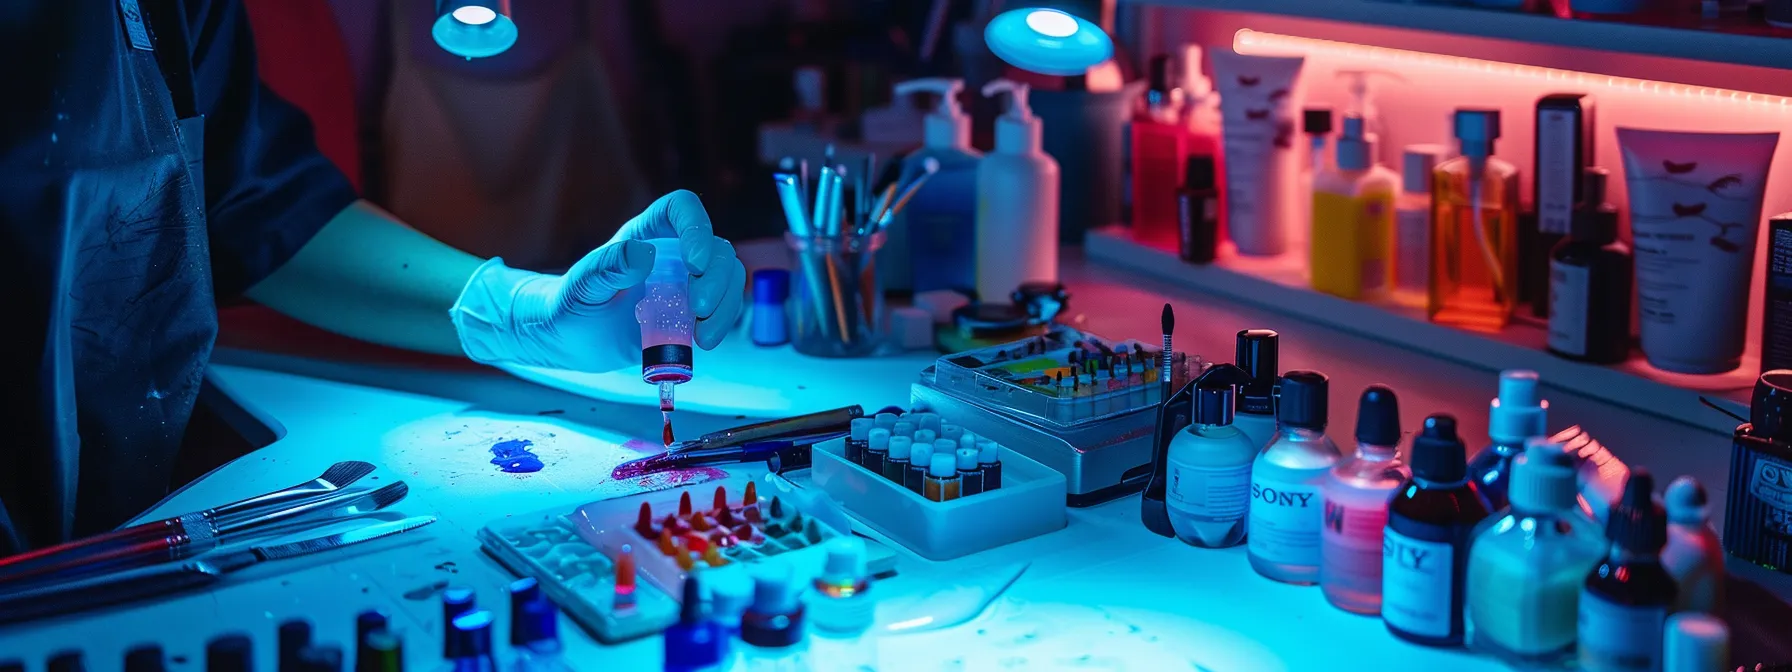
Choosing the right LashMer Home gel nail extension kit is a crucial step for anyone wanting to achieve beautifully manicured nails at home or in a professional setting. In my experience, the first aspect to evaluate is the types of gel nail extensions available, such as the increasingly popular coffin shape, which offers a chic look. Familiarizing myself with kit components, including the essential adhesive and nail polish nail products, allows for smoother application and better results. Additionally, I’ve found it beneficial to compare top brands that cater specifically to beginners, as this can save a lot of time and frustration during application. Lastly, setting a realistic budget for these starter kits ensures that I’m investing wisely in quality products that will aid my nail art journey.
Assessing Gel Nail Extension Types
When I assess gel nail extension types, I pay close attention to the materials used in the kits. In my experience, products featuring powder formulations provide a durable finish, while those with a focus on gel offer a more flexible yet strong application. I also consider the tools needed for finishing touches, such as a nail file or drill, and the importance of sanitizing my tools with acetone to maintain hygiene during the process:
- Evaluate the materials: powder versus gel
- Consider the flexibility and strength of each type
- Include necessary tools: nail file and drill
- Maintain hygiene with acetone
Understanding Kit Components
As I begin to understand the various components of a gel nail extension kit, I focus on the items that contribute to achieving a polished look. A quality gel offers the right consistency and ease of application, while understanding how to manage the length of the extensions is essential for a balanced design. I also consider the odor of the products included in the cart; pleasant-smelling options can make the experience much more enjoyable as I work on my nails.
Comparing Top Brands for Beginners
When I started out looking for gel nail extension kits, I discovered that brands like Kiara Sky and Modelones stood out for beginners. They typically include helpful items like gel adhesives and LED lamps while also offering customs options that allow for personalization. I also appreciate brands that provide detailed instructions via email address for techniques like buffing and applying foil, ensuring that I have all the support I need as I hone my skills.
Setting Your Budget for Starter Kits
Setting a budget for my gel nail extension starter kit is essential to ensure I get high-quality materials without overspending. I always look for kits that include essential items like polymer powders, cover gels, and the right beads for a flawless finish. It’s also wise to consider add-ons like dust brushes and tips, as these can significantly enhance the application process and overall outcome of my nail art.
Now that you’ve chosen the perfect gel nail extension kit, it’s time to get your nails ready for the transformation ahead. Let’s dive into the essential steps for preparing your nails to ensure a flawless application!
Preparing Your Nails for Extensions

To achieve a seamless application and the desired full coverage for my gel nail extensions, I focus on the vital first steps in the preparation process. I start by carefully cleaning and buffing my nails, allowing for better adhesion of the artificial nails. Next, I make sure to apply cuticle oil, ensuring my nails remain healthy and hydrated, which is essential for a long-lasting manicure. I also pay close attention to selecting the right nail dehydrator and primer, as these products create the perfect base for the gel to adhere effectively. Using a brush at the right angle during application helps achieve a smooth finish, guaranteeing my nails look polished and professional.
Cleaning and Buffing Your Nails
To start the cleaning process, I make sure to use a gentle nail brush along with a bit of soap and water to eliminate any dirt or oil from my nails. This step ensures that the gel has a clean surface to adhere to, which is crucial for a long-lasting application. Once I have cleaned my nails, I gently buff them with a fine-grit buffer to create a slightly rough texture, enhancing the bond between the natural nail and the gel extension:
Applying Cuticle Oil for Healthier Nails
Applying cuticle oil is a crucial step in my nail preparation routine, as it promotes hydration and nourishes the surrounding skin. By massaging the oil into my cuticles, I help prevent dryness and cracking, which can lead to uneven nail growth and breakage. This simple yet effective practice ensures that my nails remain healthy and well-maintained, setting a solid foundation for the gel nail extensions to adhere properly.
Choosing the Right Nail Dehydrator and Primer
Selecting the right nail dehydrator and primer is essential for the success of my gel nail extensions. I look for a dehydrator that effectively removes any moisture and natural oils from my nails, creating an ideal surface for adhesion. In my experience, a high-quality primer enhances the bond, ensuring the gel stays in place for an extended period and minimizes lifting, which is vital for a flawless finish.
With your nails prepped and ready, you’re one step closer to achieving that flawless look. Let’s dive straight into the exciting process of applying gel nail extensions!
Step-by-Step Guide to Applying Gel Nail Extensions

As I transition into the hands-on portion of applying gel nail extensions, I focus on three critical steps that will ultimately define the success of my application. Beginning with accurately cutting and filing the extensions to achieve a seamless fit, I ensure a well-proportioned look that complements my natural nails. Next, I emphasize the importance of using the gel correctly; I am particular about applying it evenly to create a strong bond and prevent lifting. Finally, the curing process under UV or LED light is where the magic happens, as it solidifies the gel, ensuring durability and a glossy finish. Each of these steps plays a vital role in crafting a polished and long-lasting gel nail extension experience.
Cutting and Filing Extensions to Fit
When it comes to cutting and filing gel nail extensions, precision is key. I begin by measuring the extensions against my natural nails to determine the perfect length before cutting them with a sharp nail clipper. After that, I use a nail file to shape the edges, ensuring that they blend seamlessly with my natural nails while creating a flattering silhouette.
- Measure the extensions against natural nails.
- Cut the extensions to the desired length using a sharp nail clipper.
- File the edges to create a smooth, blended finish.
Using the Gel Properly for a Strong Bond
Applying the gel correctly is essential for achieving a strong bond that will last. I take my time to ensure an even application, using a brush to distribute the gel evenly across the extension and my natural nails. This careful approach minimizes the risk of air bubbles, which can compromise adhesion, and ultimately helps me achieve a long-lasting, flawless look.
Curing Gel Nails Under UV/LED Light
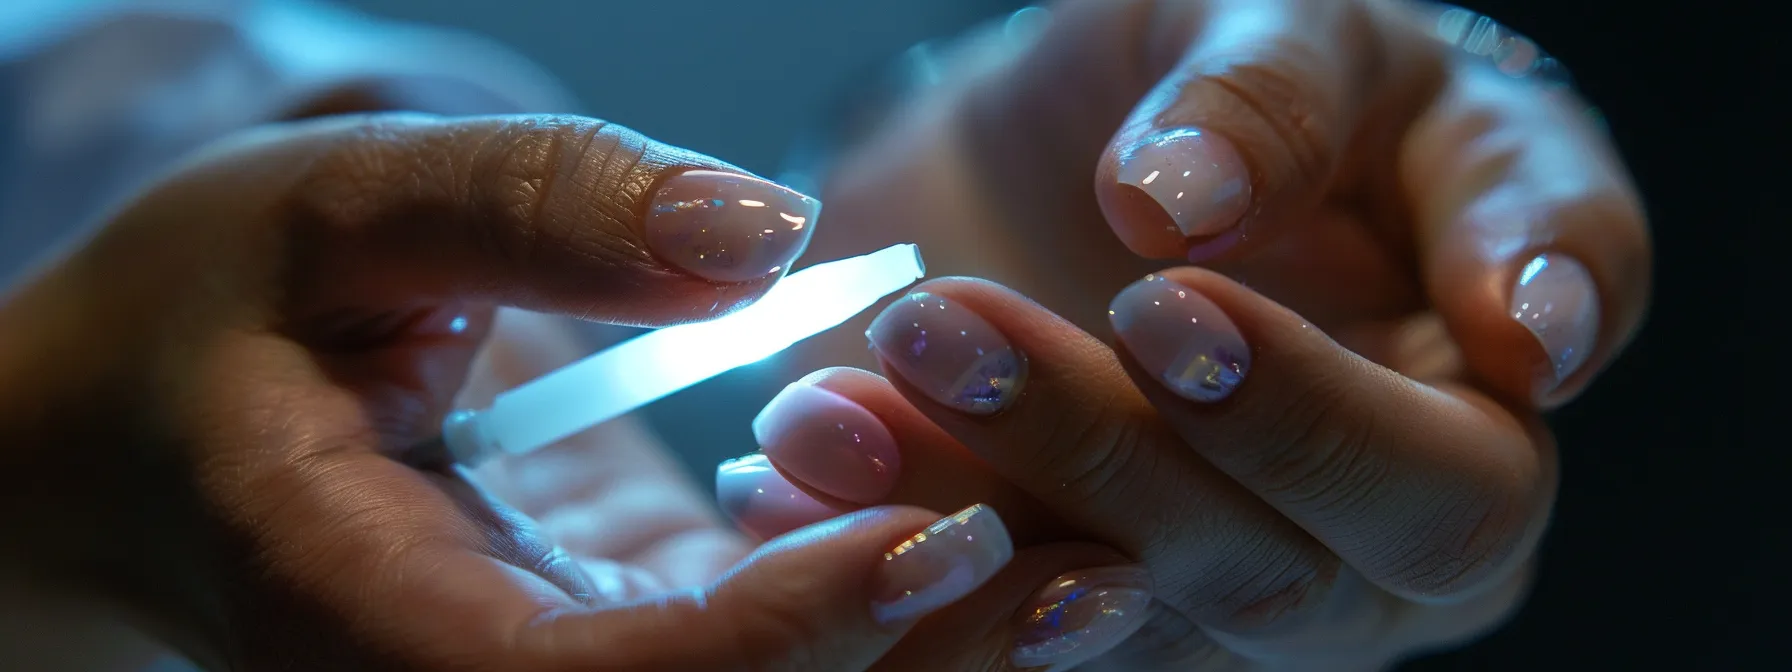
Curing gel nails under UV or LED light is a critical step that I meticulously focus on to achieve a professional finish. As I position my hands under the lamp, I can feel the anticipation knowing this process solidifies everything I’ve worked on so far. I always ensure I follow the recommended curing time; this attention to detail prevents any lifting and ensures the gel adheres perfectly, resulting in a glossy, durable manicure.
Your gel nail extensions are perfectly applied, and the vibrant design is turning heads. To keep your stunning manicure looking fresh and fabulous, let’s dive into essential maintenance tips.
Maintenance Tips for Your Gel Nail Extensions

Taking care of my gel nail extensions goes beyond just the initial application; it’s about maintaining their beauty and integrity over time. I prioritize regular filing and shaping to keep my nails looking fresh and aligned. Moisturizing my cuticles and the surrounding skin is also a key part of my routine, as it ensures that everything stays healthy and hydrated. Additionally, I stay attentive to when to fill or completely remove and replace my extensions, as this knowledge allows me to extend the life of my manicure while avoiding damage to my natural nails. By following these essential maintenance tips, I can enjoy a stunning, long-lasting nail look that continues to impress.
Regular Filing and Shaping
As I maintain my gel nail extensions, I regularly file and shape them to prevent any chips or breaks. While filing, I keep my natural nail’s shape in mind, ensuring everything stays symmetrical and flattering. This attention to detail not only keeps my nails looking polished but also extends the life of the extensions, making each manicure last even longer.
Moisturizing Cuticles and Surrounding Skin
To keep my gel nail extensions looking their best, I prioritize moisturizing my cuticles and surrounding skin regularly. Applying a nourishing cuticle oil or cream not only hydrates but also helps to maintain the overall health of my nails. This simple step can prevent dryness and promote healthy growth, ensuring my manicure remains flawless for as long as possible:
- Use cuticle oil daily to nourish and hydrate.
- Massage oil into the cuticles to improve circulation.
- Apply moisturizer around the nails for overall skin health.
When to Fill or Remove and Replace
Understanding when to fill or completely remove and replace my gel nail extensions is key to maintaining their integrity and appearance. I keep an eye out for signs of growth, as gaps between the extensions and my natural nails can indicate it’s time for a fill. If I notice lifting or damage, I opt for a replacement to ensure my nails remain healthy and visually appealing.
Regular assessments are crucial to deciding my next steps, especially when I feel any discomfort or instability in the extensions. Monitoring how the extensions wear down over time allows me to enjoy a consistent and polished look.
Even with the best maintenance, challenges can arise with gel nail extensions. Let’s tackle some common issues you might encounter and how to resolve them effectively!
Troubleshooting Common Gel Nail Extension Issues

Addressing common problems that arise with gel nail extensions is a crucial part of my nail care routine. When I encounter lifted extensions or air bubbles, I quickly assess the situation to determine the best fix. If my gel nails suffer from cracks or breaks, I take prompt action to repair them, ensuring a seamless look. Additionally, I remain vigilant about preventing yellowing and potential infections by maintaining good hygiene and utilizing quality products. These proactive steps help me achieve long-lasting, beautiful results while keeping my nails healthy and vibrant.
Fixing Lifted Extensions and Air Bubbles
When I notice that my gel nail extensions have lifted or developed air bubbles, I act quickly to resolve the issue. First, I carefully assess the lifted area and gently file down the edge to remove any loose gel, ensuring it’s smooth before reapplying the product. To prevent future occurrences, I make sure to apply gel evenly, avoiding over-saturation, which can lead to air pockets trapped beneath the surface.
Repairing Cracks or Breaks in Gel Nails
Whenever I discover a crack or break in my gel nails, I prioritize addressing it immediately to prevent further damage. I carefully file the area around the crack to smooth it out and then clean the surface to prepare for repair. Afterward, I apply a small amount of gel over the crack, ensuring an even layer before curing it under the UV or LED light to restore both strength and aesthetics.
Preventing Yellowing and Infections
To prevent yellowing of my gel nails, I always choose high-quality products that contain UV protection. I make a conscious effort to avoid exposure to harsh chemicals and excessive sunlight, which can lead to discoloration. Additionally, maintaining good hygiene is essential; I regularly clean my nails and the surrounding skin to ward off any potential infections, ensuring my manicure stays fresh and healthy.
After mastering the basics and troubleshooting common issues, it’s time to elevate your technique. Let’s dive into strategies that will transform your gel nail extension skills and set you apart in the beauty world!
Advancing Your Gel Nail Extension Skills

As I continue to refine my gel nail extension techniques, I find that pushing my creative boundaries opens up a world of possibilities. Experimenting with various shapes and lengths allows me to discover what works best for my personal style and enhances my overall look. I also enjoy incorporating art and accessories into my designs, transforming my nails into unique masterpieces that express my personality. Additionally, I focus on advanced techniques to improve durability and shine, ensuring my manicures not only look stunning but also stand the test of time. Each new skill I acquire not only elevates my nail art but also fuels my passion for this art form, making the process endlessly fulfilling.
Experimenting With Different Shapes and Lengths
Experimenting with different shapes and lengths of gel nails has been an exciting journey for me, as I learn how each variation can enhance my overall style. From the elegant stiletto to the classic round shape, I find that selecting the right design can significantly influence my confidence and how my nails complement my look. By adjusting lengths, I can create unique statements with my nails that reflect different moods and occasions:
Incorporating Art and Accessories Into Your Design
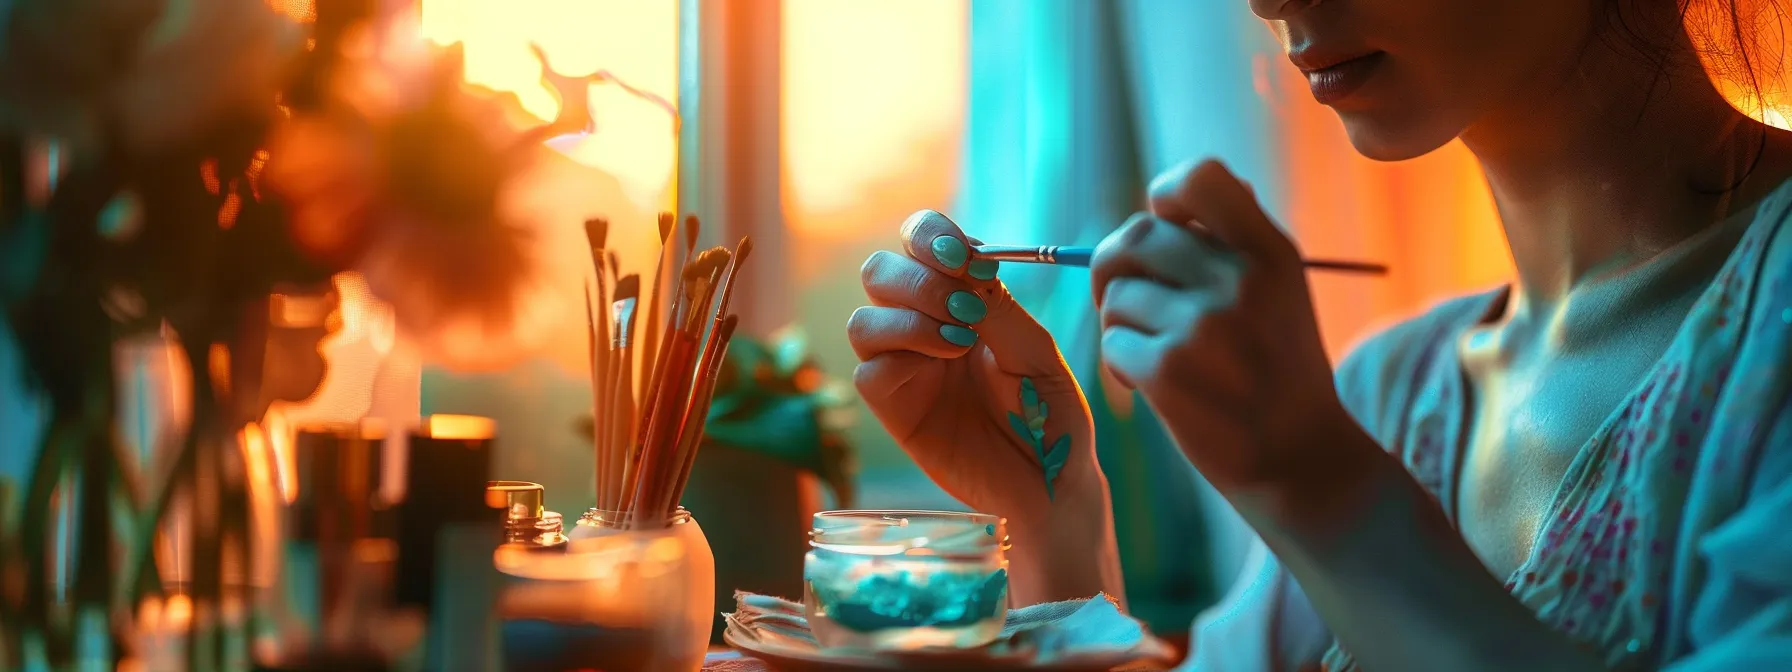
As I venture into the realm of nail art, I find that adding unique designs and accessories can truly personalize my gel nail extensions. Whether it’s showcasing intricate nail art techniques with brushes or applying nail stickers, every addition helps to reflect my individual style. I also love incorporating embellishments like rhinestones or glitter, as they not only enhance the aesthetics but also allow me to express my creativity in fresh and exciting ways:
Advanced Techniques for Durability and Shine
To elevate the durability and shine of my gel nail extensions, I focus on using high-quality sealants that provide an extra layer of protection. After applying my color and design, I ensure I finish with a top coat that not only enhances gloss but also acts as a barrier against chipping and wear. Additionally, I pay careful attention to my curing process, making sure I adhere to recommended times to ensure each layer is thoroughly set, thereby extending the life of my manicure.


