How to Keep Your Press-on Nails From Lifting: Essential Tips
When it comes to nail aesthetics, press-on nails offer a fantastic way to flaunt a polished look without extensive salon visits. However, the success of these nail products greatly depends on how well you prepare your natural nails. Ensuring your cuticles are well taken care of and preventing moisture buildup is crucial to reduce the risk of infection and lifting. With the right techniques and products from LashMer Home, you can achieve long-lasting wear and maintain the flawless appearance of your press-on nails. Ready to learn how to secure your press-ons effectively? Keep reading for essential tips that will help you keep your press-on nails looking their best!
Key Takeaways
- Proper nail preparation is key to avoiding lifting with press-on nails
- Choose high-quality press-on nails for better adhesion and lasting results
- Apply adhesive sparingly to prevent bubbles and ensure a smooth finish
- Minimize water exposure post-application to maintain adhesive strength
- Regular maintenance helps prolong the life of press-on nails
Preparing Your Natural Nails for Application
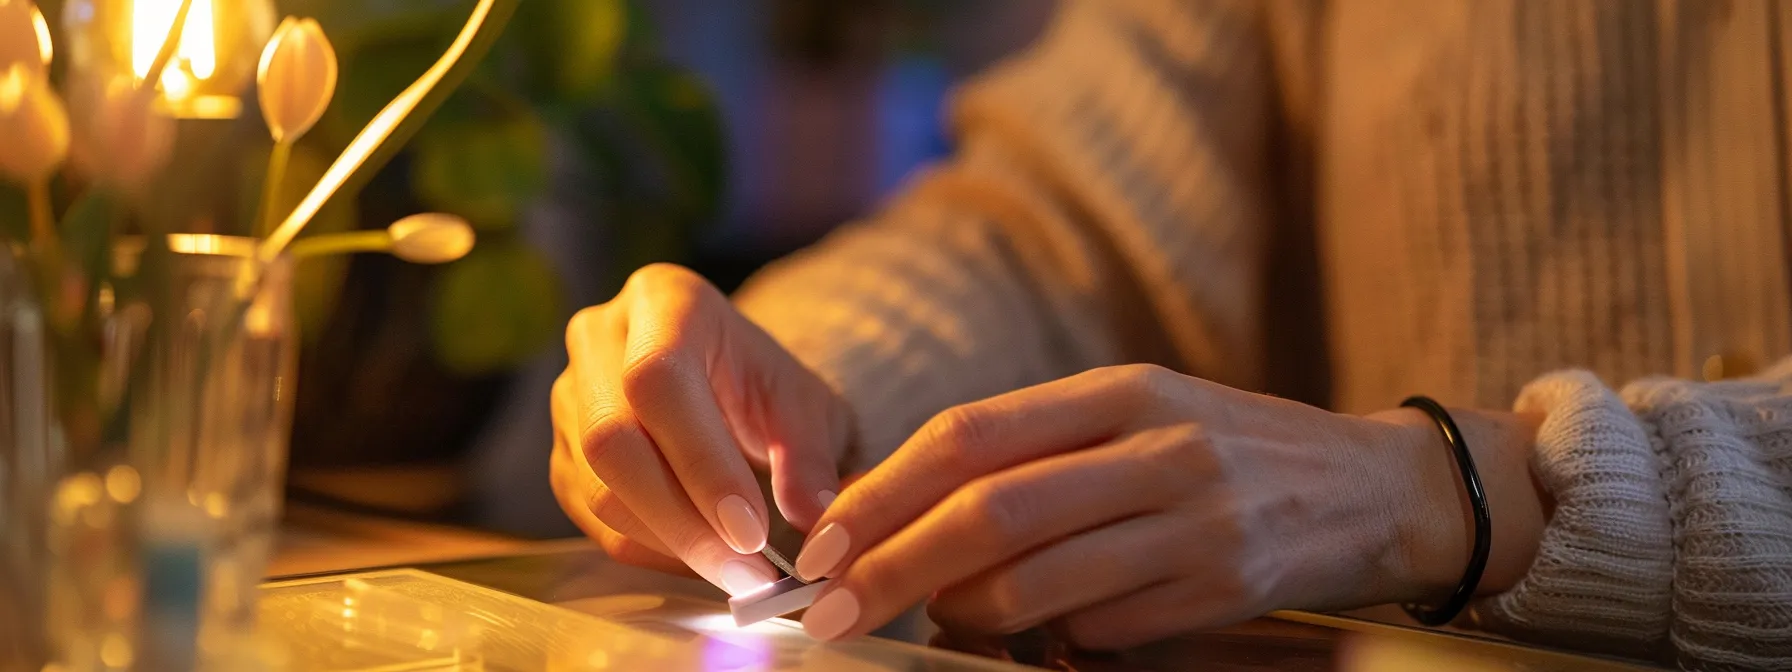
To achieve long-lasting press-on nails without lifting, the preparation of your natural nails is crucial. I always start with clean, dry nails, ensuring there are no remnants of polish or debris. Next, I lightly buff my nails with a nail file to enhance grip for the adhesive, creating a stronger bond with nail products. In my experience, using a nail primer significantly improves the adhesive bond, so I never skip this step. Lastly, I avoid any moisturizers or oils on my hands right before application. These simple steps can make a significant difference when applying artificial nails, reducing the FAQ about lifting and ensuring a flawless finish.
Start With Clean, Dry Nails
Before applying press-on nails, I make sure my natural nails are free from any nail polish and oils, as these substances can interfere with the adhesive‘s grip nail products. I often use acetone to thoroughly cleanse my nails, removing any remnants that could harbor bacteria. I also make sure to work in a well-lit area, preferably under ultraviolet light, to check for any missed spots or areas that still feel oily before moving on to the application process.
Buff Your Nails Lightly to Enhance Grip
Lightly buffing my nails with LashMer Home nail products is a crucial step that I never overlook. I use a buffing block to gently roughen the surface of my natural nails, which allows the gel adhesive to adhere better and reduces the chances of lifting later. This process not only enhances wear but also helps in preventing issues such as fungus by removing any potential barriers that can trap moisture underneath the press-on nails.
Use a Primer for a Better Adhesive Bond
In my experience, applying a nail primer before the adhesive is an indispensable step in achieving a secure bond for press-on nails. This small addition can significantly enhance the overall quality of the manicure, preventing that frustrating lifting that can occur after a few days. As I’ve navigated the learning curve in nail application, I’ve noticed how a simple primer can make a world of difference, ensuring a longer-lasting beauty effect for my fingers.
Avoid Moisturizers and Oils Before Application
Right before I apply my press-on nails, I make a conscious effort to keep my hands free of moisturizers and oils. Even the slightest residue can compromise the adhesive‘s ability to bond effectively, leading to lifting issues that I always want to avoid. I’ve learned that ensuring my nails are completely dry and free of any slippery substances is key to a successful application, allowing the products to perform at their best.
Now that your natural nails are in prime condition, it’s time to explore the vibrant world of press-on nails. Choosing the right set will elevate your look and create a stunning result!
Choosing the Right Press-on Nails
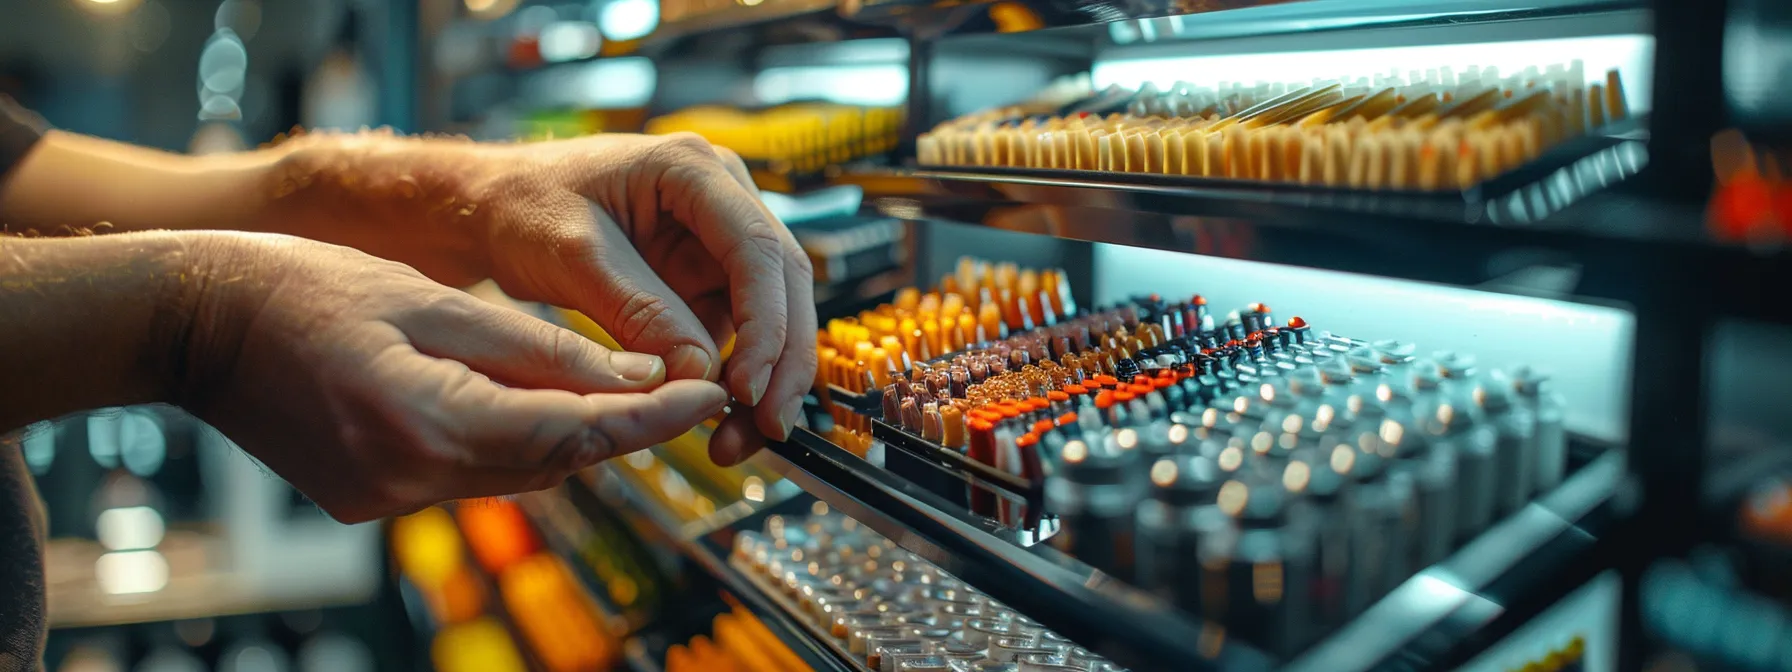
Choosing the right press-on nails is just as vital as the preparation process I previously discussed. I always ensure that I select the correct size for each nail; this makes a noticeable difference in wear and comfort. It’s also essential to opt for high-quality brands, as they tend to offer better adhesion and more attractive finishes. Additionally, I take my lifestyle into account when selecting the shape and length of my nails. Whether I’m at work, attending social events, or just going about daily life, I find that the right design not only complements my style but also stays intact without lifting.
Select the Correct Size for Each Nail
Selecting the right size for each press-on nail is crucial for achieving a natural look and long-lasting wear. I always measure my nails precisely, ensuring that the press-ons fit snugly without any gaps at the sides. This careful selection minimizes the risk of lifting and enhances comfort throughout the day, allowing me to focus on my activities rather than worrying about my nails.
Opt for High-Quality Brands
When it comes to press-on nails, I always prioritize high-quality brands that I know will deliver reliable results. These brands typically use superior materials that ensure the adhesive sticks well and the finish looks polished. Investing in quality not only enhances the longevity of my nails but also boosts my confidence, knowing they will stay intact without lifting throughout my busy day.
Consider the Shape and Length According to Your Lifestyle
Choosing the right shape and length of press-on nails is essential for fitting seamlessly into my life. For instance, if I have a busy week at work, I tend to opt for shorter, more practical styles that allow me to type and perform tasks without issue. On the other hand, for social gatherings, I may select longer, more glamorous designs to match the occasion and express my personal flair:
As you prepare to transform your look with the perfect press-on nails, the next step is crucial for achieving a flawless finish. Mastering the application technique will ensure that your beautiful nails stay put and shine bright!
Applying Press-on Nails Correctly

Proper application of press-on nails is crucial in preventing lifting and ensuring a polished look. I always begin by applying the adhesive or glue sparingly; too much can cause bubbles or messiness that may affect wear. Positioning the nails at the cuticle and pressing firmly while holding for a few seconds allows for an optimal seal, crucial for longevity. After the application, I make it a point to avoid any water exposure for at least an hour, as moisture can weaken the bond. These steps have become a routine for me, significantly enhancing the durability of my nails.
Apply Adhesive or Glue Sparingly
When I apply adhesive or glue for my press-on nails, I always remember to use it sparingly. Using too much can create bubbles, resulting in an uneven application that may lead to lifting later. I aim for just enough product to form a secure bond without making a mess, ensuring a flawless finish every time.
Position Nails Starting From the Cuticle
When I position my press-on nails, I always start at the cuticle. This method ensures that I achieve a natural appearance while allowing me to create a smooth transition from my natural nail to the artificial one. By pushing the nail gently into place, I secure it firmly, which reduces the likelihood of lifting and maintains the overall integrity of my manicure.
Press Firmly and Hold for a Few Seconds
After positioning each press-on nail, I take a moment to press firmly and hold it in place for several seconds. This technique is vital because it allows the adhesive to set properly, ensuring a strong bond between the nail and my natural nail. I’ve found that taking this extra time can significantly reduce the chances of lifting, helping to keep my manicure looking fresh and intact for longer.
Avoid Water for the First Hour After Application
After applying my press-on nails, I always make it a point to avoid any water exposure for at least an hour. I’ve discovered that even the smallest amount of moisture can weaken the adhesive bond, increasing the risk of lifting over time. By steering clear of water during this critical period, I ensure the nails adhere properly and maintain their fresh appearance longer:
You’ve successfully applied your press-on nails, achieving that flawless look you desire. To keep them looking fresh and extend their wear, it’s essential to follow some key maintenance tips.
Maintenance Tips to Extend Wear
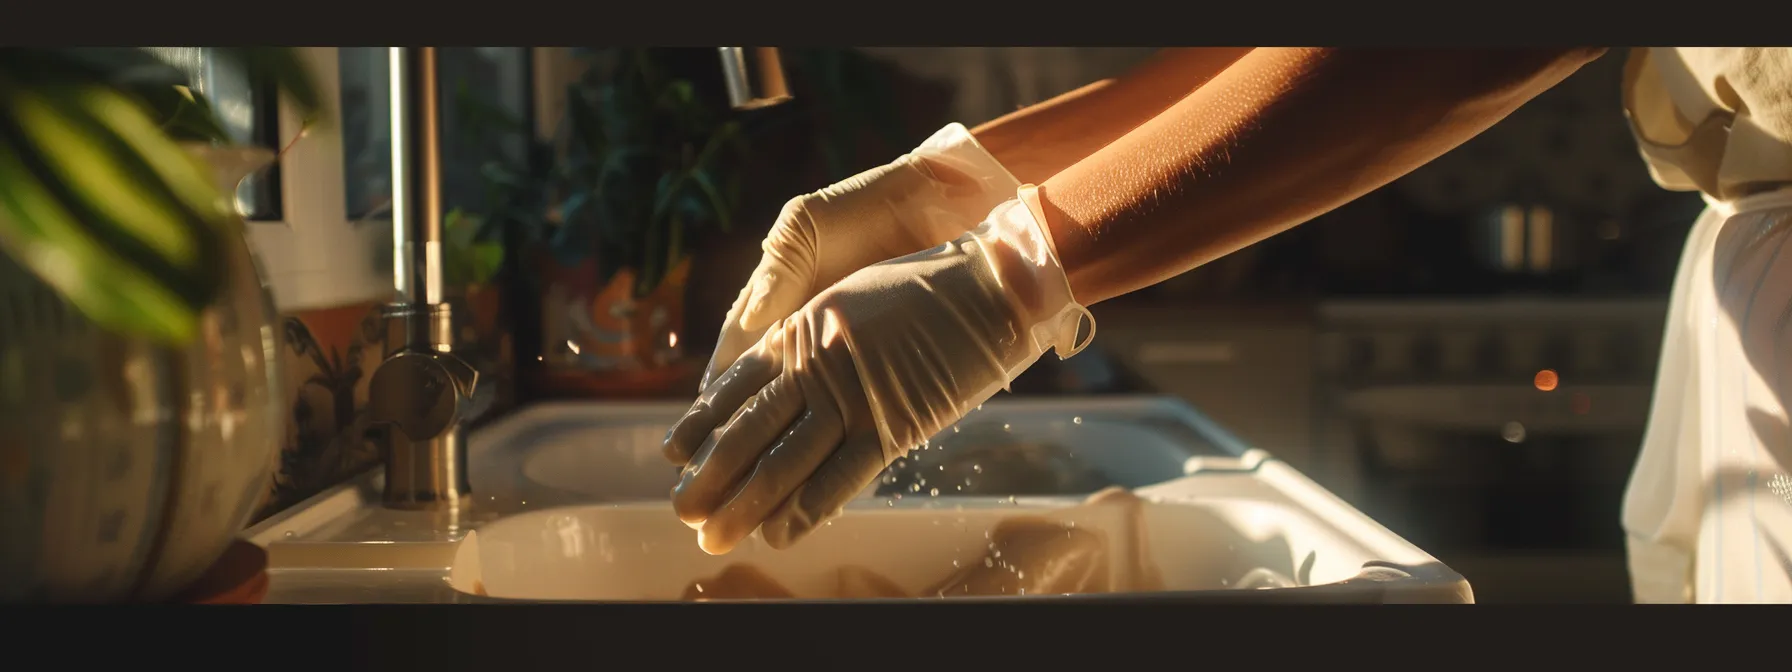
To ensure my press-on nails remain flawless and secure, I follow a few practical maintenance tips that make a noticeable impact. I always wear gloves when cleaning or doing dishes to protect my nails from harsh chemicals and prolonged exposure to water, which can weaken the adhesive. If I notice any loose edges, I quickly apply nail glue to re-secure them, preventing any potential lifting. Keeping my nails clean and dry is essential; I make a point of avoiding situations that might expose my nails to moisture or dirt. Additionally, I reapply pressure to the nails daily, reaffirming their bond with my natural nails each time. These small yet effective habits help my manicure last longer and look impeccable.
Wear Gloves When Cleaning or Doing Dishes
When I’m cleaning or doing dishes, I always make it a point to wear gloves. This simple habit protects my press-on nails from harsh chemicals that can weaken the adhesive bond. By keeping my nails covered, I not only extend their wear but also maintain that polished appearance for longer.
Apply Nail Glue to Any Loose Edges Immediately
If I notice any loose edges on my press-on nails, I act quickly and apply nail glue to reinforce them immediately. This proactive approach prevents further lifting and keeps my nails looking pristine. I’ve found that addressing minor issues right away helps maintain the integrity of my manicure, allowing me to enjoy beautifully maintained nails for an extended period.
Keep Nails Dry and Clean
Maintaining cleanliness is critical for keeping my press-on nails intact. I avoid exposure to dirt and grime that could seep under my nails by regularly washing my hands. Additionally, I make it a habit to keep a small nail brush on hand to gently scrub my nails and the surrounding skin, ensuring everything remains fresh and free of residue:
Reapply Pressure to Nails Daily
Every day, I make it a priority to reapply gentle pressure to my press-on nails. This quick routine helps reinforce the bond between the adhesive and my natural nails, ensuring they stay securely in place throughout my busy day. I’ve learned that this simple act can significantly prolong the life of my manicure, keeping them looking pristine and preventing any early lifting.
You’ve mastered the art of maintaining your nails to keep them looking fabulous. But what happens when a nail starts to lift? Let’s dive into how you can fix that without a trip to the salon.
Fixing a Lifting Nail Without Professional Help
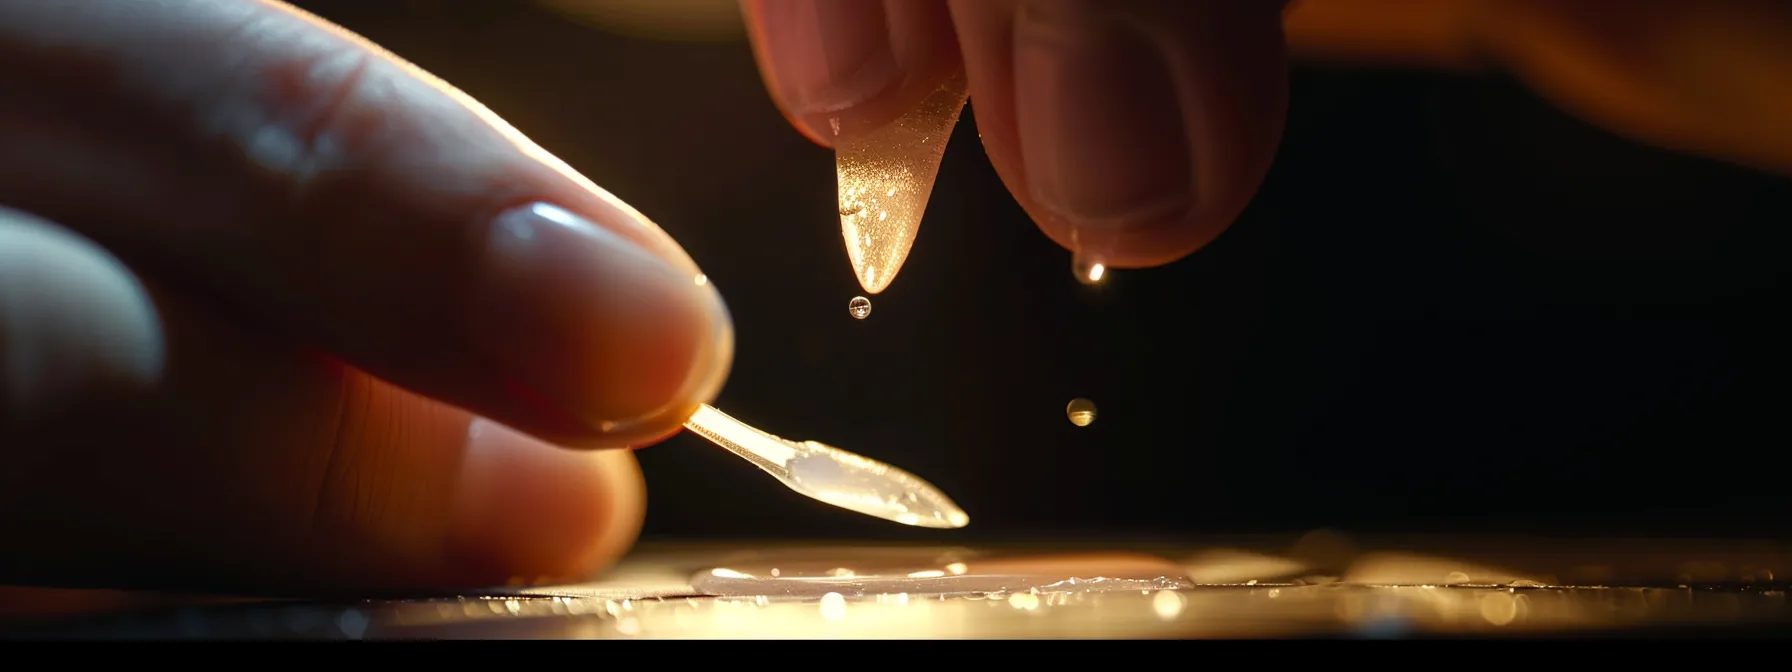
When I notice a nail starting to lift, I don’t panic; instead, I take a few straightforward steps to fix it quickly and effectively. First, I gently buff the area around the lift to create a rougher texture that will help the adhesive bond better. Then, I clean the area with alcohol to remove any oil or debris that might interfere with the glue. Afterward, I apply a tiny dot of nail glue under the lifted section, careful not to overdo it. Finally, I press and hold the nail down for a few seconds until I feel it secure. These quick steps allow me to maintain my manicure without needing professional assistance, ensuring my nails look flawless for days to come.
Gently Buff the Lifting Area
Whenever I spot a nail beginning to lift, my first course of action is to gently buff the affected area. This slight roughening enhances the texture, allowing for better adhesion during the repair process. I find that taking this extra step significantly increases the chances of a lasting bond once I apply the adhesive.
Clean the Area With Alcohol
After buffing the area around a lifting nail, my next step is to clean the surface with alcohol. I use a cotton pad soaked in alcohol to thoroughly wipe the lifted section and the surrounding skin. This process removes any oils or debris, ensuring that the glue can adhere effectively and enhance the longevity of my repairs.
- Gently buff the lifting area to create a better texture for adhesion.
- Soak a cotton pad in alcohol and wipe the affected area.
- Allow the alcohol to evaporate before proceeding with the repair.
Apply a Tiny Dot of Glue Under the Lift
Once the area around the lifted nail is clean and prepped, I carefully apply a tiny dot of nail glue under the lifted section. It’s important to use just enough adhesive to create a solid bond without causing a messy overflow. After placing the dot, I gently press the nail back down, ensuring it’s secured properly.
- Clean the lifting area with alcohol.
- Buff the lifting area for better adhesion.
- Apply a tiny dot of glue underneath the lifted nail.
- Press down gently to secure the nail.
Press and Hold Until Secure
After I apply the glue to a lifting nail, I always take the time to press down firmly and hold it in place. This action is crucial because it allows the adhesive to bond properly, preventing any further lifting. I’ve found that just a few seconds of steady pressure can make a significant difference in how well the nail stays secured, ultimately helping me maintain a polished look for longer.
While tackling nail lifting at home can feel rewarding, preventing future issues is equally essential. Discover the common habits that can lead to nail lifting and learn how to steer clear of them for flawless nails every time.
Habits to Avoid to Prevent Nail Lifting
Maintaining the integrity of my press-on nails requires more than just proper application; it also calls for mindful habits throughout my daily life. I’ve learned that using my nails as tools, whether for opening packages or pushing buttons, can easily lead to lifting. Additionally, I make it a rule to avoid prolonged exposure to water since it can compromise the adhesive bond. Typing or texting demands a gentle touch, as aggressive movements can disturb the fit and cause premature lifting. Lastly, I always steer clear of harsh chemicals unless I’m equipped with gloves, as they can weaken the adhesive and impact the longevity of my nails. By avoiding these common pitfalls, I protect my manicure and keep my nails looking fresh and flawless.
Stop Using Your Nails as Tools
I’ve learned the hard way that using my nails as tools can lead to unfortunate lifting. Whether it’s prying open a package or pressing buttons, these actions put unnecessary strain on the adhesive and escalate the risk of my press-on nails coming loose. I now make a conscious effort to use proper tools instead, saving my nails from damage and maintaining their flawless appearance.
Avoid Prolonged Exposure to Water
To maintain the longevity of my press-on nails, I make it a priority to avoid prolonged exposure to water. I’ve noticed that even brief encounters with water can weaken the adhesive bond, leading to lifting over time. By being conscious of this, such as wearing gloves during tasks like dishwashing or cleaning, I protect my nails and ensure they remain secure and visually appealing for days on end.
Be Gentle When Typing or Texting
I’ve found that being gentle while typing or texting plays a significant role in keeping my press-on nails secure. When I’m on my phone or computer, I consciously use the pads of my fingers instead of the tips to avoid putting unnecessary pressure on the edges of my nails. This small adjustment not only helps prevent lifting but also preserves the polished look I’ve worked hard to achieve.
Steer Clear of Harsh Chemicals Without Protection
I’ve realized that exposure to harsh chemicals without any protection can be detrimental to the longevity and appearance of my press-on nails. Whether it’s household cleaners or beauty products, these substances can break down the adhesive and weaken the nails, increasing the chances of lifting. To keep my manicure intact, I always reach for gloves when using any potent chemicals, anticipating potential damage before it occurs.


